 how-to
How to Prevent Peptide Oxidation in Lab Samples
Table of Contents
- Understanding Peptide Oxidation and Why It Matters
- Identifying Oxidation-Sensitive Amino Acids in Peptides
- Step 1: Minimise Oxygen Exposure Before Storage
- Step 2: Establish Proper Peptide Sample Storage Conditions
- Step 3: Manage Peptide Freeze-Thaw Stability During Handling
- Step 4: Apply Reducing Agents and Oxidation Controls
- How to Tell If a Peptide Sample Has Oxidised
- Documentation and Quality Verification
- Frequently Asked Questions
Last Updated: October 19, 2026
Understanding Peptide Oxidation and Why It Matters
Peptide oxidation is one of the most common challenges researchers face with laboratory samples. It occurs when oxygen reacts with certain amino acids, changing the molecule's structure and compromising your results, which is why learning how to prevent peptide oxidation in laboratory samples is critical.
The problem runs deeper than most people realise. A 2026 study from researchers including Y. Duan identified that artificial oxidation happens during sample preparation and analysis, not just storage. This means your peptides can degrade at multiple points in your workflow, before they even reach your freezer.
The stakes are high: oxidised peptides produce false results, waste budget and delay timelines. For academic and biotech teams, batch consistency drives reproducibility, one contaminated sample can invalidate an entire study.
Identifying Oxidation-Sensitive Amino Acids in Peptides
Not all amino acids oxidise equally. Knowing which residues are at risk is your first step toward effective prevention.
Methionine is the primary culprit. It oxidises readily when exposed to oxygen, forming methionine sulfoxide, and the process is fast enough to happen during routine handling. If your peptide contains methionine, treat it as oxidation-prone until proven otherwise.
Cysteine and tryptophan also oxidise, though more slowly. Cysteine can form disulphide bonds or cross-links, whilst tryptophan oxidation produces multiple degradation products that muddy your analysis.
In practice: if your peptide contains methionine, cysteine, or tryptophan, assume it needs active oxidation prevention. Don't wait for problems to appear.
| Amino Acid | Oxidation Risk | Primary Product | Handling Impact |
|---|---|---|---|
| Methionine | Very High | Methionine sulfoxide | Rapid, visible in assays |
| Cysteine | High | Disulphide bonds, cross-links | Alters peptide structure |
| Tryptophan | Moderate | Multiple degradation products | Complicates analysis |
:::pro-tip Request the amino acid sequence from your peptide supplier before it arrives. Identify oxidation-prone residues upfront so you can plan your storage and handling strategy in advance.
Step 1: Minimise Oxygen Exposure Before Storage
The first rule of preventing peptide oxidation in laboratory samples is simple: keep oxygen away from your peptides, starting the moment your sample arrives.
Peptides usually arrive in vials with air headspace, and that air contains oxygen. Replace it with an inert gas first.
Use nitrogen or argon flushing:
- Open the vial in a controlled environment
- Flush the headspace with nitrogen or argon gas for 30-60 seconds
- Seal the vial immediately with a crimp cap or septum
This removes most of the oxygen your peptide will encounter during storage.
For long-term storage, aliquot into smaller vials: larger vials mean more headspace and more oxygen, whilst smaller aliquots reduce air contact each time you open one.
Practical steps for minimising oxygen:
- Use sealed, airtight containers only
- Store vials upright to minimise liquid contact with the cap
- Avoid repeated opening and closing of vials
- Keep vials away from direct light
Research from GenScript's peptide stability guidance confirms that argon-flushed, tightly sealed vials significantly extend peptide shelf life.
Step 2: Establish Proper Peptide Sample Storage Conditions
Temperature control is non-negotiable, but temperature alone doesn't determine how quickly oxidation progresses. The right conditions depend on your peptide sequence, formulation and required shelf life, so treat the guidance below as a starting framework, not a universal protocol.
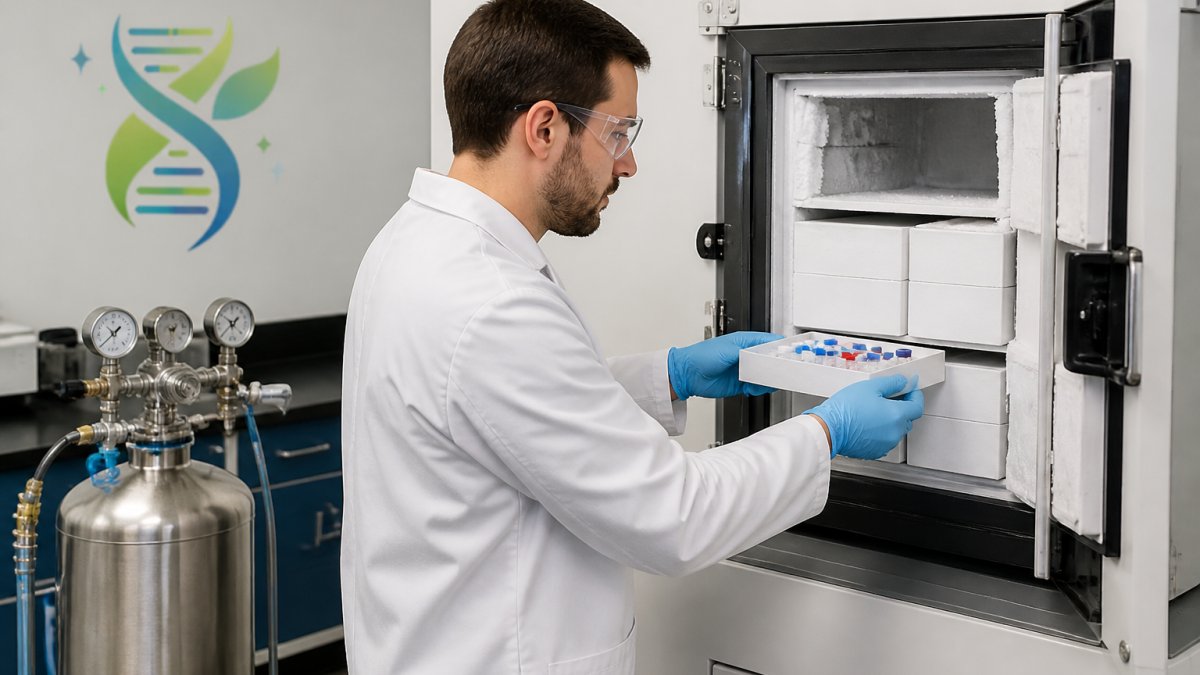
The gold standard for long-term storage is −80 °C, where chemical reactions slow dramatically.
If −80 °C is not available, −20 °C is acceptable for short-term use (weeks to a few months). Room temperature storage is only viable for days. Never store oxidation-prone peptides at room temperature for extended periods.
Temperature guidelines for peptide sample storage conditions:
- −80 °C: optimal for long-term storage (months to years)
- −20 °C: acceptable for intermediate storage (weeks to months)
- 2-8 °C: only for very short-term use (days)
- Room temperature: avoid unless absolutely necessary (hours only)
Decision criteria for choosing conditions:
| Factor | Lower risk | Higher risk | Practical action |
|---|---|---|---|
| Susceptible residues | None | Met, Cys, Trp present | Assume oxidation-prone; use −80 °C and inert gas |
| Storage duration | Days | Months to years | Move to −80 °C; aliquot before freezing |
| Form | Lyophilised powder | Aqueous solution | Store powder where possible; solution only short-term |
| Headspace | Minimal | Large air gap | Flush with nitrogen or argon; use smaller vials |
| Light exposure | Dark | Ambient light | Use amber vials or wrap in foil |
Humidity matters too: moisture can trigger hydrolysis and oxidation. Store peptides dry, use desiccant packets if your freezer lacks humidity control, and let vials equilibrate to room temperature before opening to avoid condensation.
pH and buffer choice influence oxidation rates in solution. Many peptides are most stable at mildly acidic pH, whilst alkaline conditions accelerate oxidation and deamidation.
Container choice matters too. Some peptides adsorb to glass or plastic, and certain plastics can leach compounds that affect stability. Low-binding tubes and amber vials are common choices for oxidation-prone samples; seal them well and store upright.
Step 3: Manage Peptide Freeze-Thaw Stability During Handling
Every time you thaw a frozen peptide, you expose it to oxygen, where many teams unknowingly damage their samples.
Freeze-thaw cycles are brutal: as the ice melts, oxygen dissolves into the liquid sample, and if the peptide sits at room temperature for even 30 minutes whilst thawing, oxidation accelerates.
Here's the practical fix: thaw your peptide quickly and keep it cold.
Thawing protocol for peptide freeze-thaw stability:
- Remove the vial from the freezer and place it on ice immediately
- Allow it to thaw on ice for 15-20 minutes
- Use the peptide whilst still cold
- Return unused portions to the freezer within 30 minutes
Avoid room-temperature thawing. The warmer your peptide gets, the faster oxidation proceeds.
Minimise freeze-thaw cycles, as each one damages your sample. Prepare small aliquots in advance so you only thaw what each experiment needs.
For critical experiments, prepare fresh aliquots immediately before use to eliminate storage-related oxidation entirely.
Step 4: Apply Reducing Agents and Oxidation Controls
Reducing agents work by donating electrons to oxidised molecules, reversing the oxidation reaction. The most common is dithiothreitol (DTT).
DTT is effective but has limitations. It can interfere with some assays, and it degrades over time. A 2023 study from K. P. Nandhini and colleagues documented that heating a sulfonium salt at 40 °C for 24 hours in 5% acetic acid reversed oxidation of methionine-containing peptides. This shows that oxidation can sometimes be reversed, but the process is time-consuming and not practical for routine use.
Using reducing agents effectively:
- Add DTT to your storage buffer at 1-5 mM concentration
- Test DTT compatibility with your downstream assays first
- Replace DTT periodically, as it oxidises itself
- Consider alternatives like TCEP (tris(2-carboxyethyl)phosphine) if DTT interferes with your work
For sample pools, research from G. Bosc-Bierne and colleagues shows that blocking uncoupled amino termini with acetylation prevents further peptide growth and makes truncated peptides easier to remove. This is a more advanced technique but valuable if you're working with complex peptide mixtures.
Reducing agents are tools, not solutions. They work best within a complete strategy of proper storage, minimal oxygen exposure and careful handling.
How to Tell If a Peptide Sample Has Oxidised
You cannot always see oxidation with the naked eye, a peptide can look fine and still be chemically degraded. Verification is the only way to know whether your prevention strategy is working.
The most reliable approach is liquid chromatography-mass spectrometry (LC-MS).
High-performance liquid chromatography (HPLC) is the practical workhorse. Oxidised peptides usually elute earlier or later than the native form depending on the column and gradient, producing a separate peak.
Practical verification workflow:
- Record an intact-mass or HPLC baseline on receipt, before any handling
- Store an untouched reference aliquot at −80 °C for side-by-side comparison
- Re-run the same method after storage or after a suspected exposure event
- Compare peak areas, not just peak presence, a small shoulder can become the dominant peak over time
- Confirm identity with MS/MS if a new peak appears and the cause is unclear
Distinguishing oxidation from other degradation:
| Observation | Likely cause | Confirmatory check |
|---|---|---|
| +16 Da mass shift | Methionine oxidation | Intact MS |
| +32 Da mass shift | Two oxidations or tryptophan products | MS/MS |
| +1 Da mass shift | Deamidation (Asn/Gln) | Peptide mapping |
| Broad, late-eluting peak | Aggregation | Size-exclusion chromatography |
| Loss of disulphide | Reduction or scrambling | Non-reducing vs reducing HPLC |
This distinction matters because the fix is different. Oxidation calls for oxygen exclusion and reducing agents; aggregation calls for reformulation or surfactant; deamidation calls for pH control.
Request a certificate of analysis from your supplier with purity data and, where possible, mass confirmation.
If you suspect oxidation, do not guess. Run an analytical check. A single HPLC run costs far less than repeating an entire experiment with degraded peptides.
Documentation and Quality Verification
Proper records prevent repeated mistakes. Document your peptide storage and handling.
Record the arrival date, storage temperature, number of freeze-thaw cycles, and date of use. Track any analytical results showing oxidation or degradation.
What to document:
- Receipt date and initial condition
- Storage location and temperature
- Each thaw date and duration
- Analytical results (HPLC, LC-MS, assay data)
- Any oxidation or degradation observed
- Supplier and lot number
When sourcing peptides, ask your supplier for their quality verification data. Third-party testing from independent laboratories is the gold standard.
Preventing peptide oxidation in laboratory samples isn't glamorous, but it's essential for reproducible research. The steps are straightforward: minimise oxygen exposure, control temperature, manage freeze-thaw cycles, and verify your results.
At Everform Research, we understand that sample quality directly impacts your research outcomes.
Ready to experience the difference premium-quality peptides can make? Shop our compounds today and use code EVER15 for 15% off your first order.
Frequently Asked Questions
What causes peptide oxidation in laboratory samples?
Peptide oxidation occurs when amino acid residues, particularly methionine, cysteine, and tryptophan, react with oxygen. This can happen during storage if samples are exposed to air, but a 2026 study shows that artificial oxidation also occurs during sample preparation and analysis itself. Oxidation can be introduced through improper vial sealing, temperature fluctuations, light exposure, and even during liquid chromatography workflows if metal ions or reactive oxygen species are present.
Which amino acids are most susceptible to oxidation?
Methionine is the most oxidation-prone amino acid in peptides, followed by cysteine and tryptophan. Methionine oxidation is particularly common because the sulphur atom in its side chain readily reacts with oxygen. A 2023 study demonstrated that sulphonium salts formed from oxidised methionine can be reversed by heating at 40 °C for 24 hours in 5% acetic acid, though this is a treatment method rather than a prevention strategy. When designing storage protocols, always verify which residues are present in your peptide.
Does freeze-thaw cycling increase peptide degradation?
Yes, freeze-thaw cycles can compromise peptide freeze-thaw stability and accelerate degradation. Each cycle exposes the sample to temperature changes that can promote oxidation and other chemical reactions. To minimise this risk, prepare small aliquots of your peptide stock so you only thaw the amount you need for a single experiment. Store aliquots in separate sealed vials with inert gas headspace, and keep unopened vials at -80 °C or below until use.
How can I verify that my peptide storage is actually working?
The most reliable method is to confirm sample integrity through analytical verification before and after storage. Request a certificate of analysis (COA) from your peptide supplier that includes high-performance liquid chromatography (HPLC) or mass spectrometry data showing purity and identity. After storage, re-analyse a sample aliquot using the same method to detect any increase in oxidised forms or degradation products. A 2026 study emphasises that reference-standard system suitability and trending are critical controls for detecting oxidation introduced during analysis itself.